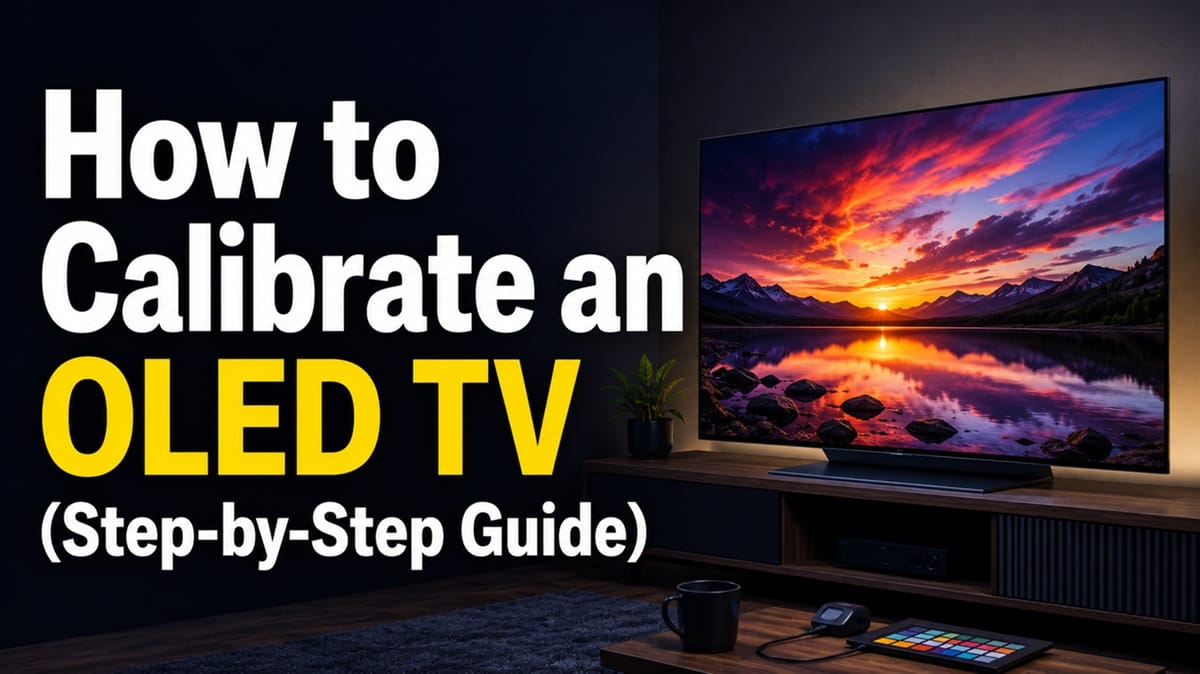
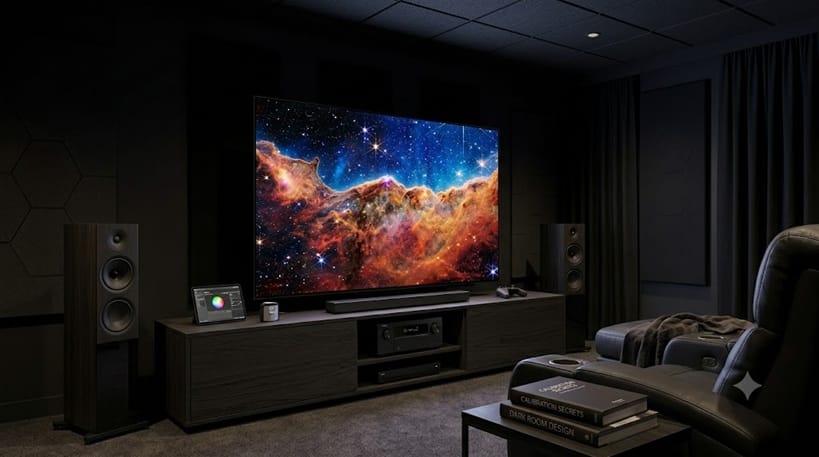
How to Calibrate an OLED TV: A Step-by-Step Picture Setup Guide
Last updated: June 2026 / 🕒 9 min read
Disclosure: As an Amazon Associate I earn from qualifying purchases. This article contains affiliate links — we may earn a small commission if you buy through them, at no extra cost to you.
Most OLED TVs leave the factory set to “Vivid” or “Standard,” and neither mode shows you what the panel can actually do. Calibration sounds like something only a technician with a $2,000 colorimeter should attempt, but the core adjustments — white balance, gamma, sharpness, and color — are accessible through your TV’s own menu and a free test pattern source.
This guide walks through the core picture-mode adjustments that LG, Samsung, and Sony each document in their own support pages — white balance starting point, gamma, sharpness, and color — using free test pattern sources instead of a colorimeter. You don’t need to buy anything to get meaningfully closer to accurate color and contrast than the out-of-box preset gives you.
This guide covers manual, in-menu calibration steps that apply across LG, Samsung, and Sony OLED panels. If you’re looking for ready-made picture mode recommendations instead of a manual walkthrough, our best OLED settings for movies guide covers preset values per model.
Let’s start with the short version, then walk through each setting in order.
Table of Contents
The Short Answer: How to Calibrate an OLED TV
Start from the Filmmaker Mode or Cinema/Movie preset, since both disable most post-processing by default. From there, adjust backlight/OLED light to your room brightness, set contrast and brightness using a test pattern, fine-tune color and tint, then leave sharpness near zero since OLED panels don’t need edge enhancement. The whole process takes about 20–30 minutes with a free test pattern video.
Getting Ready Before You Touch Any Sliders
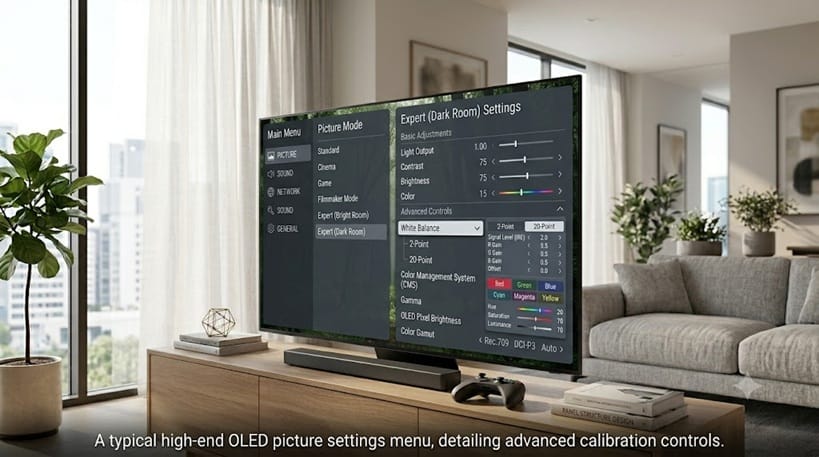
Pick the Right Starting Picture Mode
Every OLED calibration should begin from a mode that already disables motion smoothing, dynamic contrast, and other processing — not from Standard or Vivid, which apply aggressive sharpening and brightness boosts you’d otherwise have to manually undo. Picking the picture mode where test patterns already look closest to correct makes the single biggest difference in the whole process, which is why Filmmaker Mode and Cinema-family presets are the recommended starting point across LG, Samsung, and Sony panels. LG’s own picture settings documentation notes that fine color and white-balance adjustments beyond this point are best left to a certified calibration expert with proper tools — a useful reminder that this guide covers the adjustments worth doing yourself, not full lab-grade calibration.
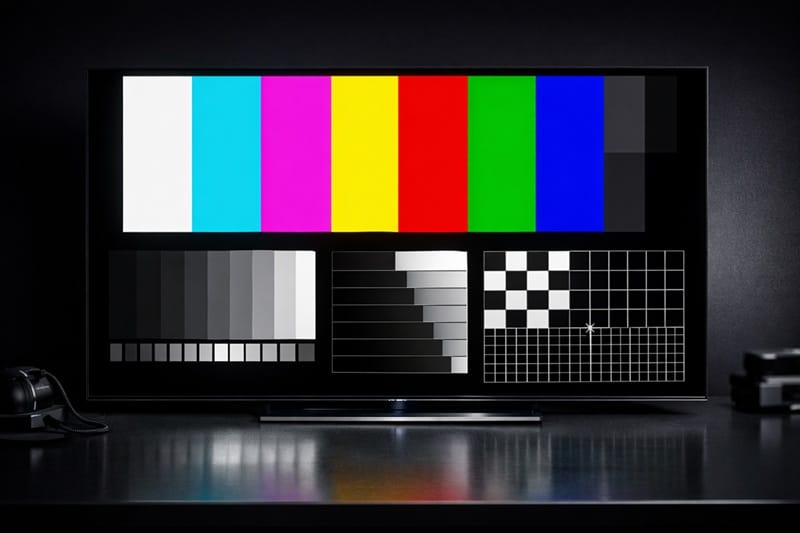
Use a Real Test Pattern Source
A test pattern disc, a calibration app, or even a well-known YouTube test pattern video gives you fixed reference images — solid gray fields, color bars, sharpness grids — that are far more reliable for judging adjustments than eyeballing a movie scene. Avoid calibrating against streaming content alone, since compression artifacts can be mistaken for picture errors.
Start With a Clean Screen
A smudge or a thin layer of dust shows up clearly on a solid gray or black test pattern, and it’s easy to mistake for a picture problem when it’s really just something on the glass. Give the panel a quick pass before you start judging anything — our guide on how to clean an OLED screen safely covers the tools that won’t damage the anti-glare coating in the process.
Why Manual Calibration Still Matters in 2026
Panel Type Changes What “Accurate” Looks Like
QD-OLED and WOLED panels reach peak brightness and color volume differently, so the same numeric slider value won’t always land in the same place visually between a Samsung and an LG. If you’re unsure which panel type your TV uses, our QD-OLED vs WOLED comparison breaks down how each handles color and brightness, which is useful context before you start adjusting either one.
Auto Settings Have Gotten Smarter, But Not Perfect
Newer OLED firmware includes ambient light sensors and auto-brightness limiting that adapt picture settings in real time. Auto modes help in mixed-lighting rooms, but a manually calibrated baseline still gives more consistent results for a dedicated home theater setup, since automatic adjustments are built for general use rather than a fixed seating distance and lighting condition.
📍 Still deciding which OLED to set up in the first place? Picture quality varies more by model and panel type than by calibration alone — check our best OLED TVs of 2026 roundup before you lock in a long-term setup.
Step-by-Step OLED Calibration Walkthrough
Work through these adjustments in order — later settings depend on earlier ones being roughly correct first.
1. Set OLED Light / Backlight for Your Room
This controls overall panel brightness, not contrast. In a dark room, a noticeably lower value than the factory default reduces eye strain and protects peak highlight detail; in a bright room, raise it accordingly. Set this first since it affects how you’ll judge every setting afterward.
2. Set Contrast Using a Test Pattern
Display a contrast/white test pattern and raise the contrast slider until the brightest pattern blocks start losing detail, then back it off one or two steps. Going too high clips highlight detail in a way that’s hard to notice without a test pattern.
3. Set Brightness Using a Black-Level Pattern
With a black-level test pattern, raise brightness until near-black detail steps become visible, then lower it until the darkest step just disappears into pure black. OLED’s per-pixel black levels make this step more forgiving than on LED TVs, but it still affects shadow detail in dark scenes.
4. Adjust Color and Tint
Use a color bar pattern and keep color saturation near the default for your starting mode — most Filmmaker/Cinema presets are already close to accurate here. Small tint adjustments (a few steps either direction) correct any visible green or magenta cast in skin tones.
5. Set Sharpness Near Zero
OLED panels render fine detail natively and don’t need artificial edge enhancement. Set sharpness to 0 or the lowest setting that doesn’t visibly soften the image — anything higher adds a faint halo around high-contrast edges that looks like detail but isn’t.
6. Turn Off Motion Smoothing and Dynamic Contrast
Frame interpolation (often called “soap opera effect”) and dynamic contrast both override the calibrated values you just set. Leave these off for movie and TV viewing, and consider a separate gaming-specific picture mode if you also use the TV for gaming, since motion handling priorities differ there.
If your TV occasionally dims unexpectedly during bright scenes after calibration, that’s a separate behavior worth understanding — see our explainer on why OLED TVs dim automatically (ABL) before assuming your settings are wrong.
What This Means for You in Practice
Who Should Calibrate Manually
Anyone watching primarily in a fixed, controlled-lighting room — a dedicated home theater or a consistently dark living room — gets the most benefit from manual calibration, since the settings won’t need to adapt to changing light throughout the day. If you’d rather skip the walkthrough and use known-good preset values, the brand-by-brand settings guide linked earlier has starting points by manufacturer.
Who Doesn’t Need to Worry About This
If your room has variable daylight or you primarily use the TV casually with mixed content, an ambient-light-adaptive auto mode or the default Filmmaker Mode preset is usually close enough without manual adjustment. The gains from full manual calibration are most visible to people who already care about consistent, repeatable picture accuracy.
FAQs: How to Calibrate an OLED TV
Do I need a colorimeter to calibrate an OLED TV?
No — a colorimeter gives more precise, repeatable results, but the manual menu adjustments in RTINGS’ TV calibration guide and this walkthrough using test patterns get you most of the visible improvement without buying equipment. Professional ISF calibration is mainly worth it for dedicated home theaters where every bit of accuracy matters.
Isn’t Filmmaker Mode already calibrated out of the box?
Filmmaker Mode is close to accurate by design, but it’s tuned to a generic reference room, not your specific lighting and seating distance. Manual adjustment to OLED light, contrast, and brightness still improves on the default for most real rooms.
Will calibration settings reset after a firmware update?
Sometimes — manufacturer firmware updates can occasionally reset picture mode settings to default, so it’s worth checking your settings after any major update. Saving your values to a custom picture mode, where supported, makes them easier to restore.
Should I use different calibration settings for gaming?
Yes, generally. Gaming benefits from low input lag settings that conflict with some picture-quality processing, so most OLED TVs offer a separate Game Mode preset worth calibrating independently from your movie settings.
Does calibration affect OLED burn-in risk?
Lowering OLED light/backlight as part of calibration can modestly reduce stress on the panel over time, but calibration alone isn’t a burn-in prevention strategy. Our guide on how to prevent OLED burn-in covers the practices that actually matter most, and our OLED pixel refresh explained guide breaks down the panel’s own built-in maintenance cycle in more detail.

iYaiii
Editor, GearPulse360
iYaiii is the editor and founder of GearPulse360, specializing in TV reviews and consumer electronics. He researches every recommendation before publishing.
✅ Based on spec analysis and RTINGS data — last verified June 2026